 Photo by
Austin
Distel on
Unsplash
Photo by
Austin
Distel on
Unsplash
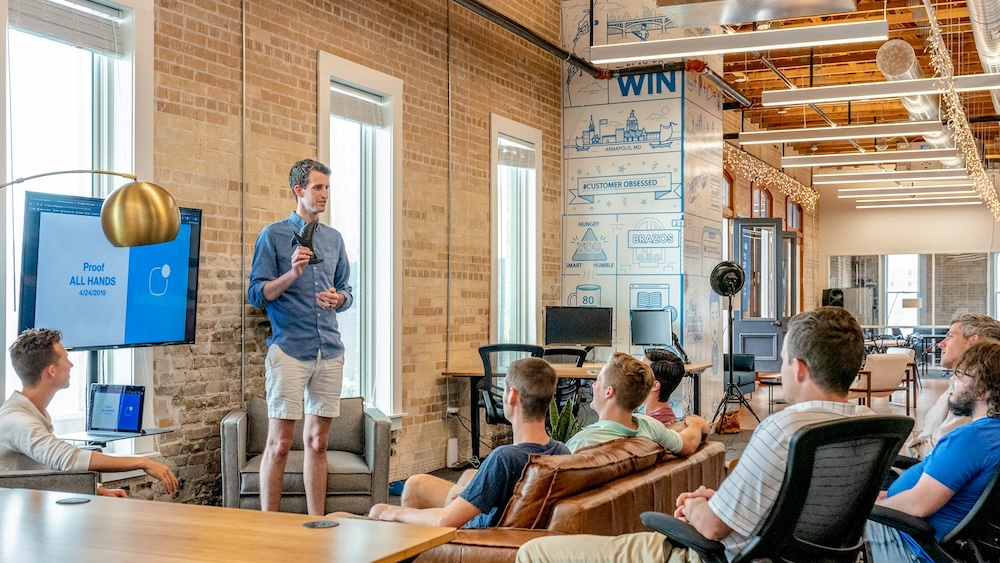
We, as managers, attend a lot of meetings every day. I’ve had days with more than ten meetings, most of which were
titled something like “… All-Hands”, “… Alignment”, “… Sync”, or “… Weekly”.
While I was sitting in one of those meetings, a question came to mind: How much does this meeting cost for the
company? So, I did a quick back-of-the-envelope calculation.
Disclaimer: The following analysis is purely illustrative. All salary figures are publicly available data from
Levels.fyi and do not represent any confidential or internal company information. The
example company (Amazon) is used only for reference, and the calculations are approximate.
Using Levels.fyi, I looked up the average salary for each role represented in the meeting. There were five Senior
Software Engineer, one Senior Product Manager, two Engineering Managers, one Senior Data Analyst, and one Product
Performance Manager. According to the site, here are the average salaries for each role at Amazon:
| Job |
Annual Salary |
Hourly Salary |
| Senior Product Manager |
~96,000€ |
~48€ |
| Engineering Manager |
~404,000€ |
~202€ |
| Senior Data Analyst |
~100,000€ |
~50€ |
| Senior Software Engineer |
~254,000€ |
~127€ |
| Product Performance Manager |
~90,000€ |
~45€ |
A bit of math revealed that a one-hour call costs around 700€.
If this meeting happens weekly — assuming 52 weeks a year and 5 cancellations — that’s 47 meetings per year. That’s
roughly 34,000€ for this single recurring meeting. Mind-blowing, right?
Now, let’s take another example: an all-hands meeting held every other week. I won’t go into the same detailed
breakdown, but assuming the average salary at Amazon is around 120,000€, a typical all-hands for a tribe or vertical of
120 people — held 25 times a year — would cost around 180,000€ annually!
And that’s just personnel costs — not counting licensing, assets, or other overheads.
Rethinking How We Meet
Meetings are important and part of our daily work. We need them to align and move forward effectively.
But the reason I wrote all of this is simple: when we’re aware of how expensive meetings really are, we’re more likely
to think twice before scheduling one.
The following considerations might help:
- Maybe only a few people truly need to be there.
- Maybe this topic could be handled asynchronously.
- Do we really need a meeting?
Putting the cost of a meeting into perspective helps us be more intentional — and respectful — with everyone’s time
and company resources.